Connect to 1010data from Power BI
Once you install the ODBC Driver and 1010data Power BI Connector and adjust the security settings, you are ready to connect to 1010data from Power BI.
To start Power BI and connect to 1010data:
- Open Microsoft Power BI.
-
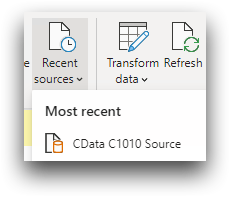
Select .
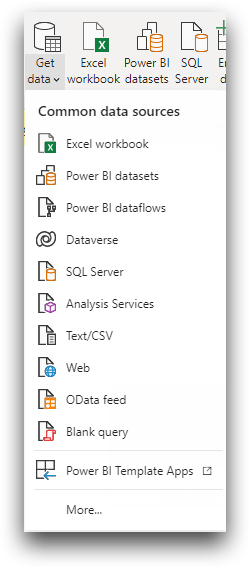 A Get Data dialog appears.
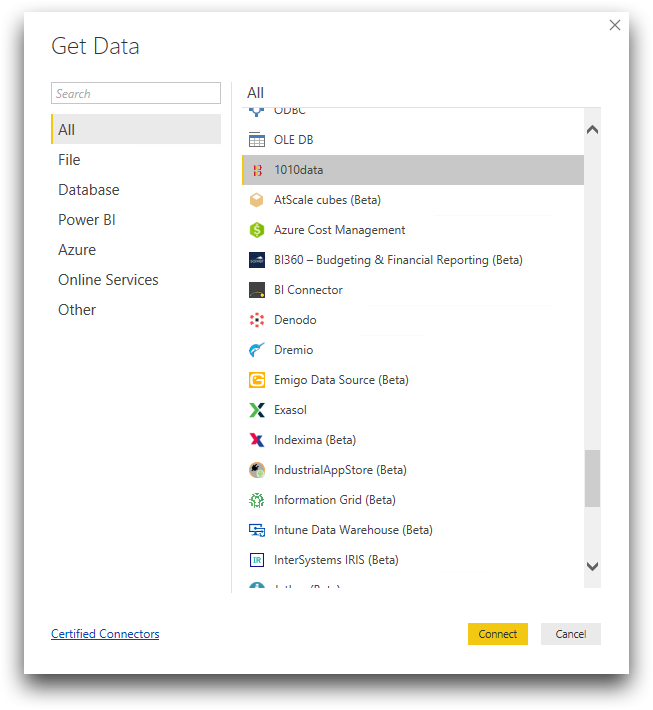
-
Select 1010data and click
Connect.
You can also enter 1010data in the Search box to find it easily.A Connecting to a third-party service warning appears the first time you connect. Click Continue. A 1010data dialog appears.
- Enter your Data Source Name from your DSN Configuration screen.
-
Under Data Connectivity mode, select one of the
following:
Option Description Import Power BI caches the data and creates a snapshot of your data at a certain point in time. DirectQuery You are querying the underlying data in real time and getting the most up to date data. In general, DirectQuery is the preferable method of obtaining data. If you are connecting to a 1010data magic table, you must use DirectQuery.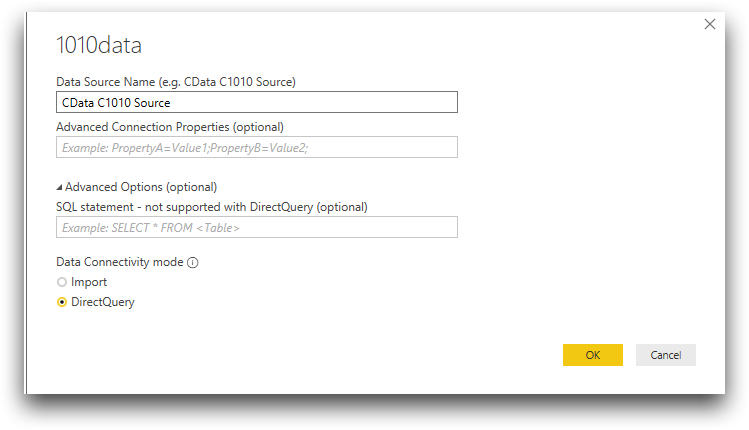 Note: For more information about the fields in this dialog, see Connection dialog.
 -
Click OK.
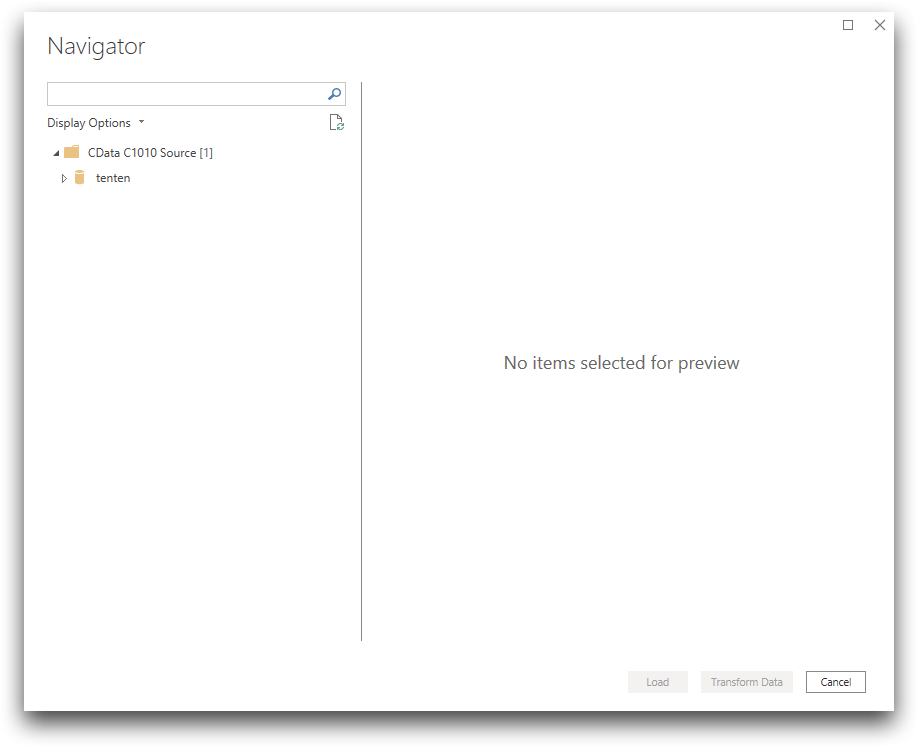
A Navigator window appears, containing the database tenten.
-
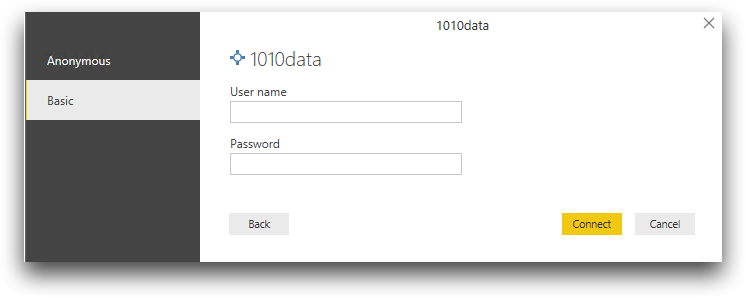
(Optional) If you enter a data source name different from the one you entered
in the DSN Configuration screen during the installation
process, a credential dialog appears.
-
Expand tenten in the
Navigator.
The Navigator displays the all the tables available to you in your 1010data environment.
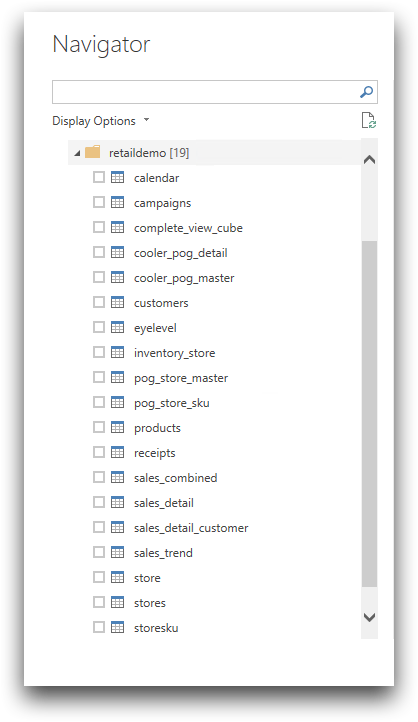 Note: Power BI uses the path and table names from the Insights Platform (not the table titles).
 -
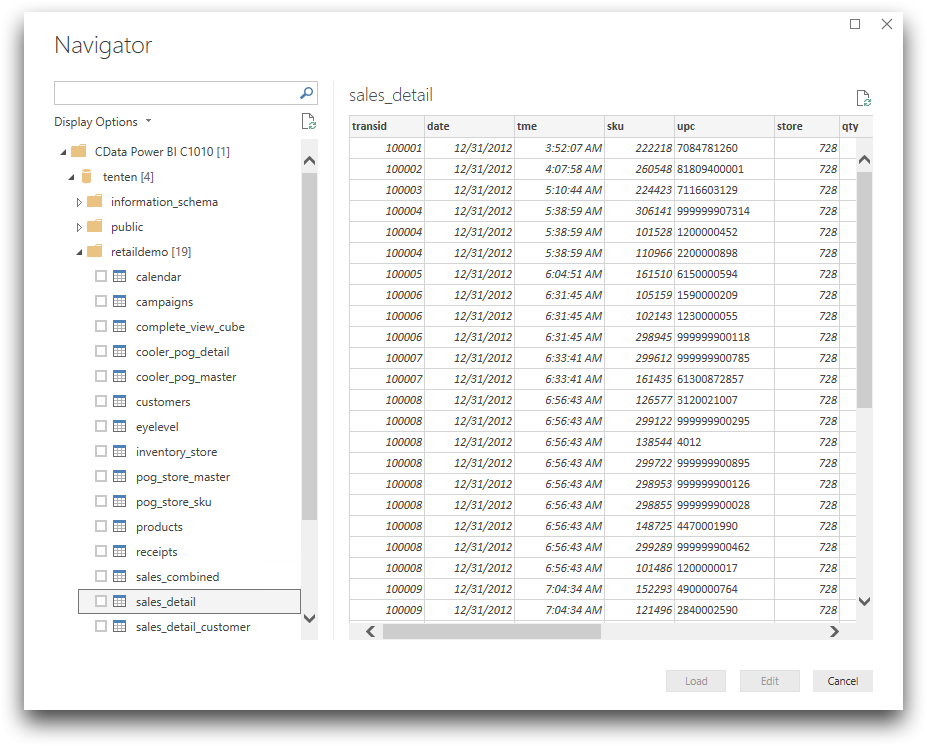
Select your table(s) from the Navigator.
You will see a preview of the table you selected in the preview pane.
-
Click the check box and click Load to load the table
into Power BI.
A Create connections dialog appears while Power BI loads the data. After the data is loaded, Power BI takes you to the Report (
 ) view of the application.
