Configure single sign-on (SSO)
Use the SSO options in the ODBC driver to authenticate to 1010data with single sign-on.
Many organizations use single sign-on to authenticate to different software systems. The following steps assume some familiarity with the single sign-on provider of your organization. If you have questions about getting started with single sign-on, please contact your 1010data account manager.
To set up the ODBC Driver for single sign-on (SSO) access to 1010data with the Power BI Connector:
-
If it is not already open, run the program ConfigureODBC
in C:\Program Files\Cdata\CData ODBC Driver for
1010data.
The CData ODBC Driver for 1010data screen appears.
-
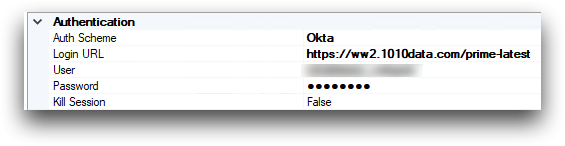
In the Authentication section of the
Connection tab, for the
AuthScheme field, select your SSO provider from the
drop-down list.
-
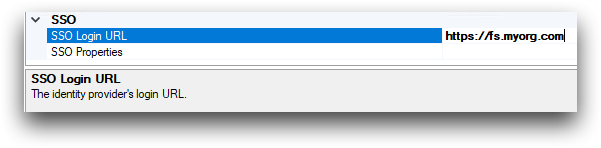
Scroll down to the SSO section of the ODBC Driver.
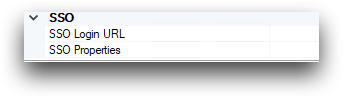
-
In the SSO Properties field, enter any additional
properties required to connect to the identity provider in a semicolon-separated
list.
- ADFS
- This property is not required.
- OKTA
- There are two optional properties.
See SSO Properties in the Power BI Connector Reference Manual for more details.
The SSO section of the CData ODBC Driver for 1010data now looks similar to the following:Okta example:

Active Directory (ADFS) example: