
Associate a query with a widget
A query may be used to specify the data that a widget displays. One way to associate
a query with a particular widget is to insert the Macro Language code for that query between
the opening and closing tags of the <widget>.
In Create a widget, the drop-down widget displayed a list of all
the item descriptions from the Product Master table. When an
item was selected from the drop-down menu, the value of the SKU corresponding to the
selected item description was assigned to the dynamic variable associated with the
value_ attribute. However, what if you wanted to show a list of
all the department descriptions from the Product Master
table in the drop-down list instead and wanted the widget to assign the
corresponding department number to the dynamic variable? You could add a
query to the widget that changes the order of the columns in the table to do just
that.
You'll recall that the drop-down widget uses the first two columns from the table
associated with the widget. It uses the first column for the values of the drop-down
menu and the second column for the labels. To show a list of the department
descriptions, whose values are the corresponding department numbers, you could
simply add a query that performs a <colord> to arrange the
columns in the desired order. For this example, the <colord>
would arrange the columns such that the column containing the department numbers
(dept) is the first column and the column containing the
department descriptions (deptdesc) is the second.
To associate a query with a widget:
-
Click Apply.
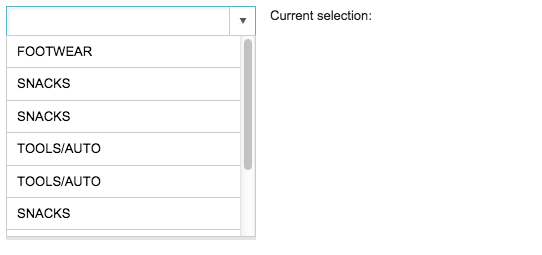
The drop-down menu now displays the value of every item in the
deptdesccolumn in the table. You'll notice that there are multiple instances of certain items. You might want to add some logic to the query to include only unique values. In addition, you might want to sort the items in alphabetical order. -
Click Apply.
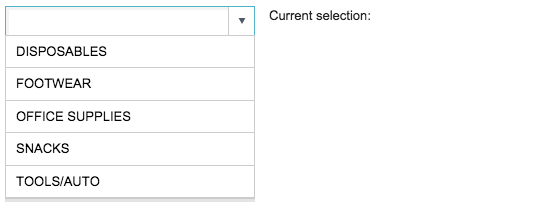
The drop-down menu now includes only the unique department descriptions in the table, sorted in alphabetical order.
-
Select an item from the drop-down menu (e.g., OFFICE
SUPPLIES).
The selection appears in the drop-down input field, and the value of the corresponding department appears in the text widget.

In this example, the department description OFFICE SUPPLIES has been selected and appears in the drop-down input field. The value 20, which comes from the
deptcolumn associated with the selected department description, has been assigned to the dynamic variableselectionand is displayed by the text widget.
As you can see, the table that has been specified as the base table for this widget, pub.demo.retail.prod, has only five unique departments. To make this tutorial a little more interesting, you can change the base table to a table that has more departments. For the rest of this tutorial, you will use pub.doc.retail.product.
To make it easier to reference this table by other widgets or to change this table path in the future, you can create a dynamic variable to hold the table path and use the value of that dynamic variable whenever you need to reference the Product Master table.
-
Click Apply.
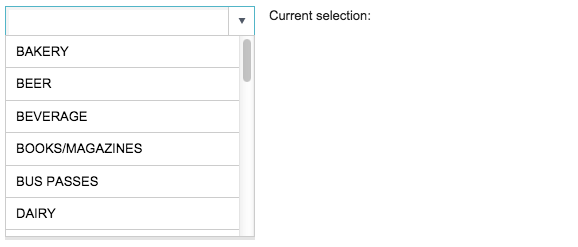
The drop-down menu now displays the unique department descriptions in the pub.doc.retail.product table, sorted in alphabetical order.
You may want to give the drop-down widget a descriptive label so that the user knows what the drop-down menu contains.
-
Click Apply.
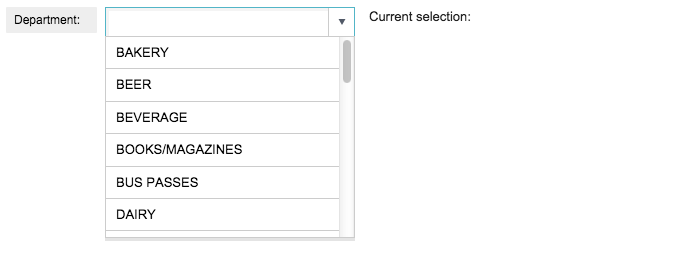
The label appears to the left of the drop-down menu.
Cumulative QuickApp code
The Macro Language code for the QuickApp up to this point is:
<dynamic selection="" product_master="pub.doc.retail.product">
  <widget class_="dropdown" base_="{@product_master}"
   inputwidth_="250" value_="@selection"
   label_="Department:" labelwidth_="75">
    <tabu label="Tabulation on Product Master" breaks="deptdesc">
      <break col="deptdesc" sort="up"/>
      <tcol source="dept" name="dept" fun="first"
       label="First`Department"/>
    </tabu>
    <colord cols="dept,deptdesc"/>
  </widget>
  <widget class_="text" text_="Current selection: {@selection}"/>
</dynamic>