Adding a static input to a dashboard
Our original query had date values hard-coded for the row selection. Let's add a little more flexibility by allowing the user to enter a date range using static inputs.
We'll create a dashboard where the user can enter the start and end dates for the date range, and then we'll use those values in the query.
We can use Sheet2 for our dashboard (or create a new worksheet, if necessary). Let's rename it "Dashboard" and change the background color to a light grey.
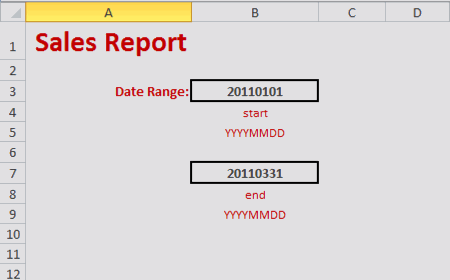
Enter text in the cells so that your dashboard looks similar to the following:

Let's also name the cells that contain the start and end dates so that it will be easier to reference them in our q-sheet. We'll give the cell B3 the name startdate and the cell B7 the name enddate.
The q-sheet essentially sends whatever Macro Language code it contains to 1010data to process and return the results. Because of that, we can convert any row in the q-sheet that contains our macro code into an Excel formula that references the contents of other cells. Then, when the Excel Add-in sends that query to 1010data, it will contain the values in the referenced cells.
between(X;Y;Z)
function:<ignore type="base">Applied to table: retaildemo.salesdetail</ignore>
<sel value="between(date;20110101;20110331)"/>
<link table2="retaildemo.products" col="sku" col2="sku" suffix="_prod" type="select">
<sel value="(dept=19)"/>
</link>
<tabu label="Tabulation on Sales Detail" breaks="groupdesc_prod">
<tcol source="xsales" fun="sum" name="tot_sales" label="Sum of`Extended Sales"/>
</tabu>
<sort col="tot_sales" dir="down"/>Let's go over to our q-sheet and change the hard-coded date values in our query to reference the new input values, startdate and enddate.
- removing any blank spaces from the start of the line
- inserting an = at the beginning of the line
- enclosing the macro code in double quotes
- preceding any double quote within the macro code with another double quote so that Excel will not interpret any of them as the end of the formula
- replacing each hard-coded value with a reference to its corresponding input cell using the syntax: "&[CELL_REFERENCE]&" (e.g., "&B3&")
=<sel value="between(date;20110101;20110331)"/>="<sel value="between(date;20110101;20110331)"/>"="<sel value=""between(date;20110101;20110331)""/>"="<sel value=""between(date;"&startdate&";"&enddate&")""/>"Now, let's test it out!
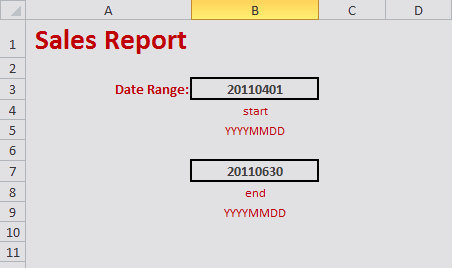
Change the date range values on the Dashboard worksheet so that the start date is 04/01/2011 and the end date is 06/30/2011. (Remember, we want these input values in the form YYYYMMDD.)

To run the query, click (or press Ctrl+Q).
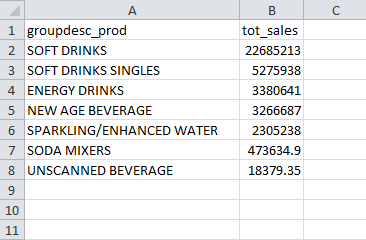
Then to see the results, click the Sheet1 tab. The values displayed now show the total sales for each department for the new date range:

It's not very convenient to have to go to one worksheet to enter input values and a different one to view the results. It would be better if we could do everything from our dashboard. In the next step, we'll see how to target the results of our query to the dashboard itself.
