
Hiding worksheets and locking the workbook
If you are planning to share your workbook with other users, you may want to hide all q-sheets and lock the workbook to prevent accidental edits to your query code.
Hiding worksheets
Because our dashboard is self-contained, there is no need for users to see or access the q-sheets or, for that matter, the Dropdowns worksheet we used to hold the values for the drop-downs in our dashboard. It is also a good idea to hide q-sheets to prevent the user from changing the query code.
You can hide a worksheet by right-clicking its tab and then selecting Hide from the context menu:
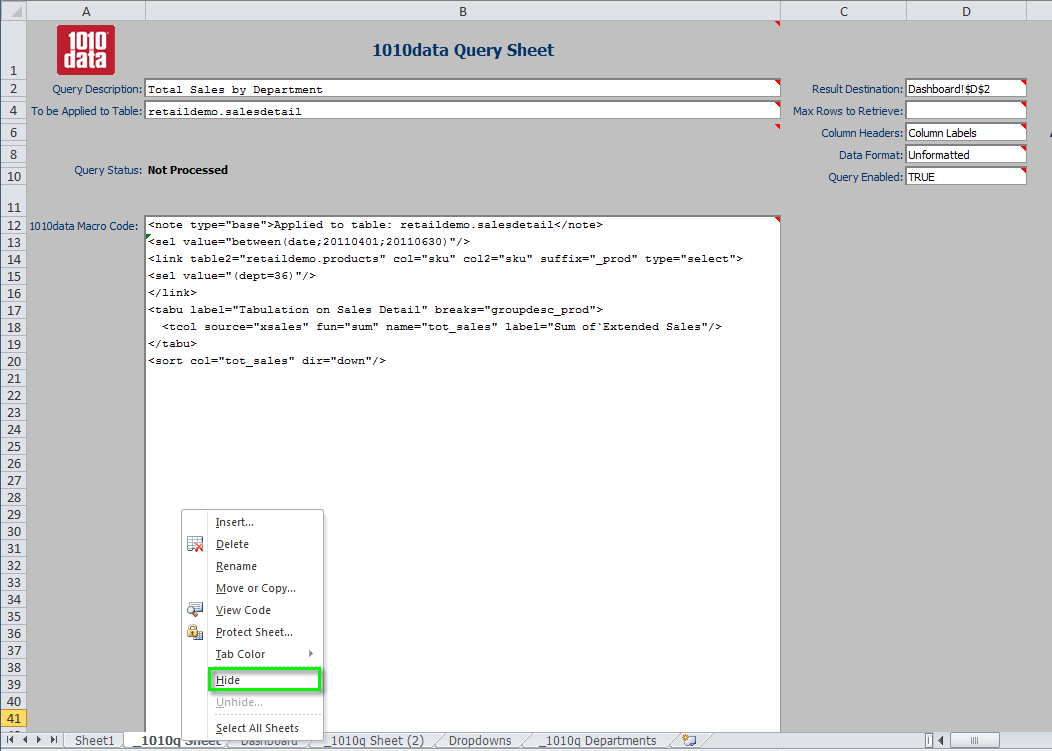
- _1010q Sheet
- _1010q Sheet (2)
- _1010q Departments
- Dropdowns
- Sheet1Note: In fact, you could delete Sheet1 since it is no longer needed.
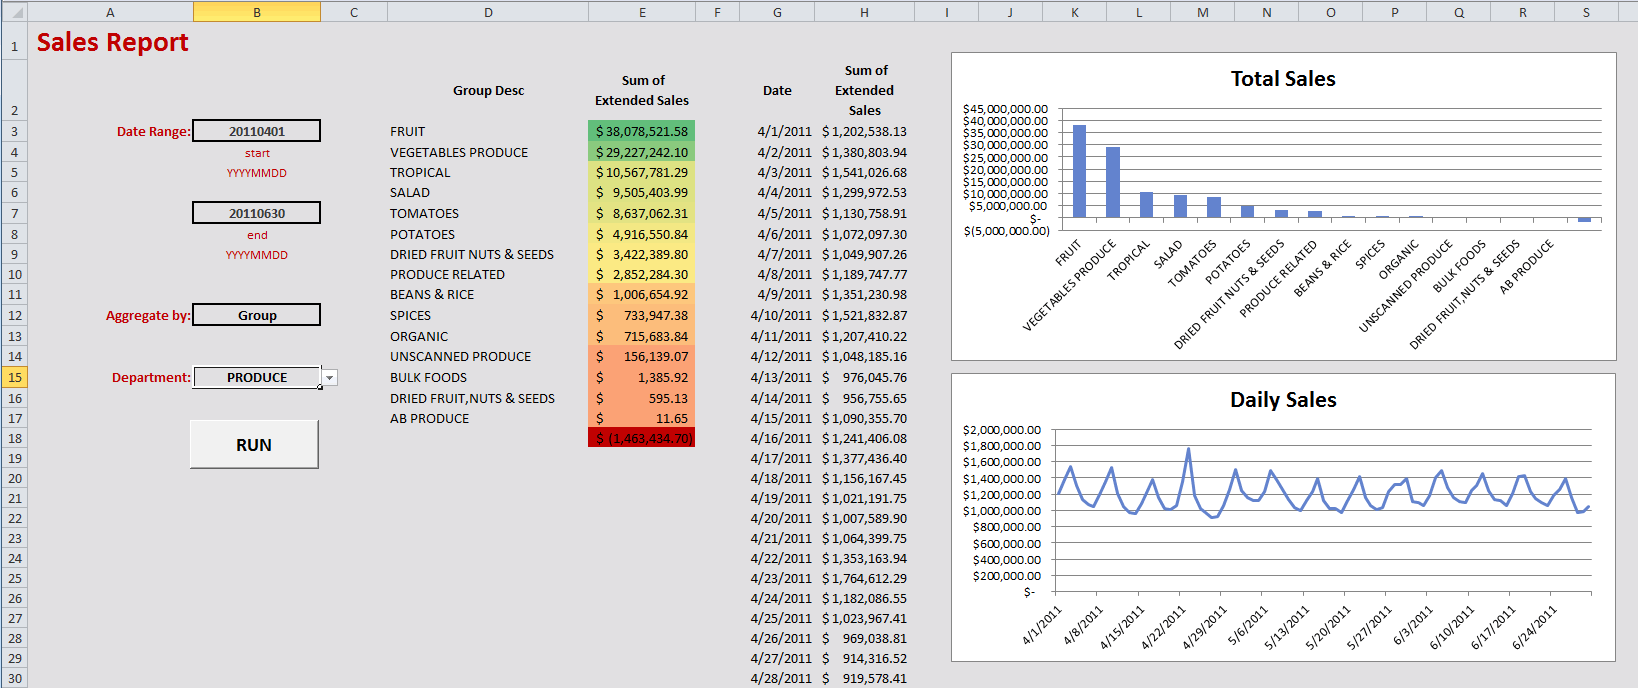
Once those worksheets are hidden, our workbook looks like:
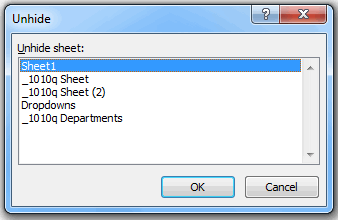
To unhide worksheets you have previously hidden, right-click anywhere along your worksheets pane at the bottom of your workbook and click Unhide. From the Unhide dialog, you can select which worksheets you would like to be visible again:
Locking the workbook
To prevent users from unhiding worksheets, you can lock the workbook. On the Review tab, click Protect Workbook:
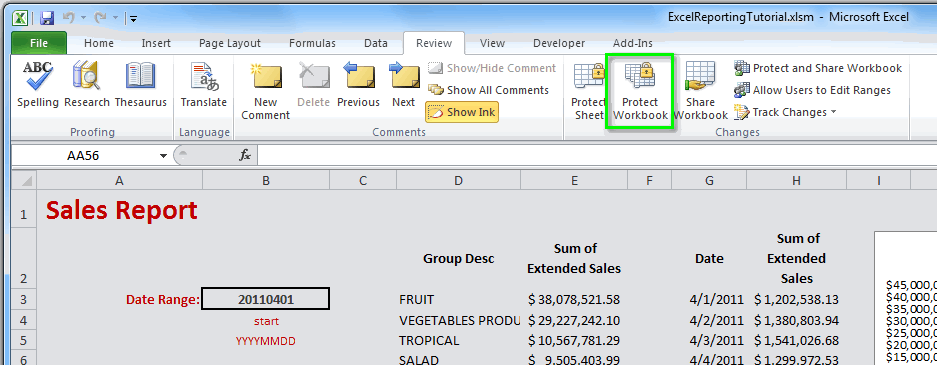
In the Protect Structure and Windows dialog, make sure that Structure is selected:
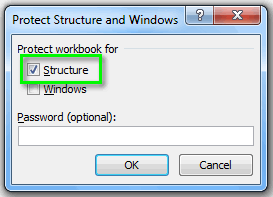
If you want to require the user to provide a password to unhide worksheets, enter a password in the Password (optional) field.
Now your dashboard is ready to send out to others!