Running your query using the Excel Add-in
Using the 1010data Excel Add-in, we can run a query on 1010data from Excel and have the results directly downloaded into an Excel worksheet.
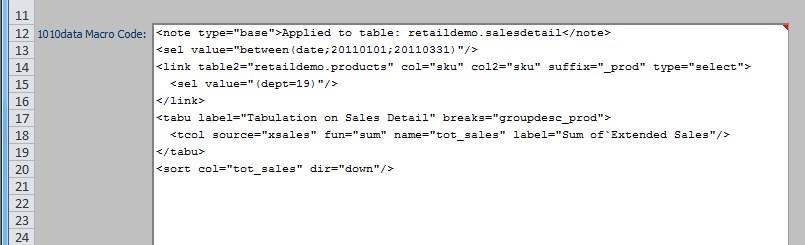
<ignore type="base">Applied to table: retaildemo.salesdetail</ignore>
<sel value="between(date;20110101;20110331)"/>
<link table2="retaildemo.products" col="sku" col2="sku" suffix="_prod" type="select">
  <sel value="(dept=19)"/>
</link>
<tabu label="Tabulation on Sales Detail" breaks="groupdesc_prod">
  <tcol source="xsales" fun="sum" name="tot_sales" label="Sum of`Extended Sales"/>
</tabu>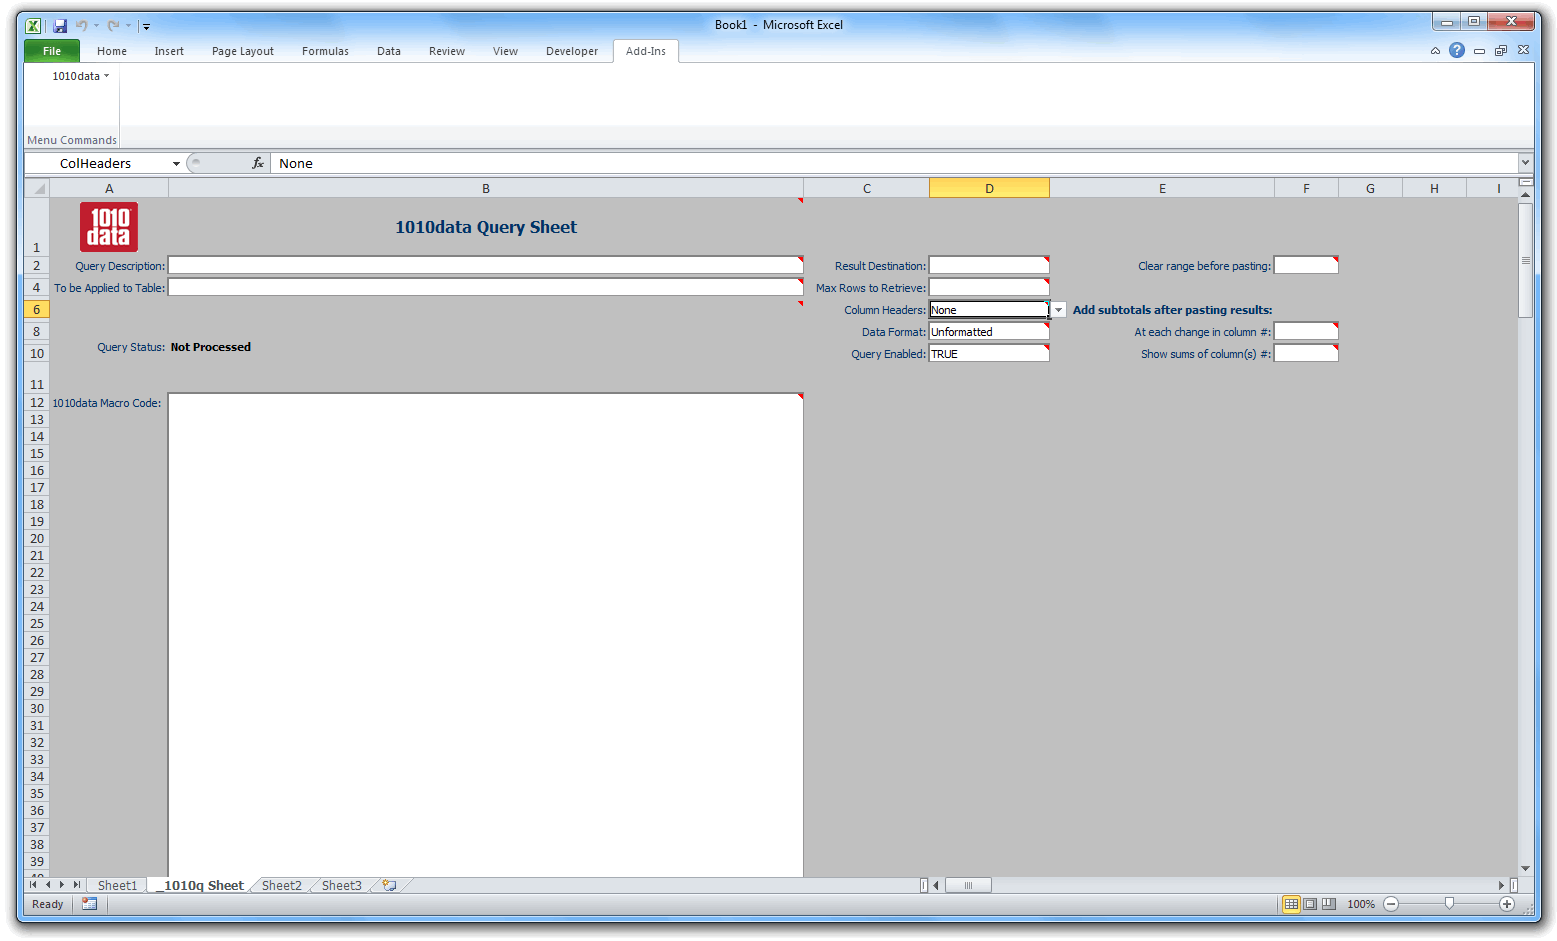
<sort col="tot_sales" dir="down"/>In Microsoft Excel, from the menu, click . This will open a q-sheet in a new tab labeled _1010q Sheet, which is where we will specify the query we want to run on 1010data.
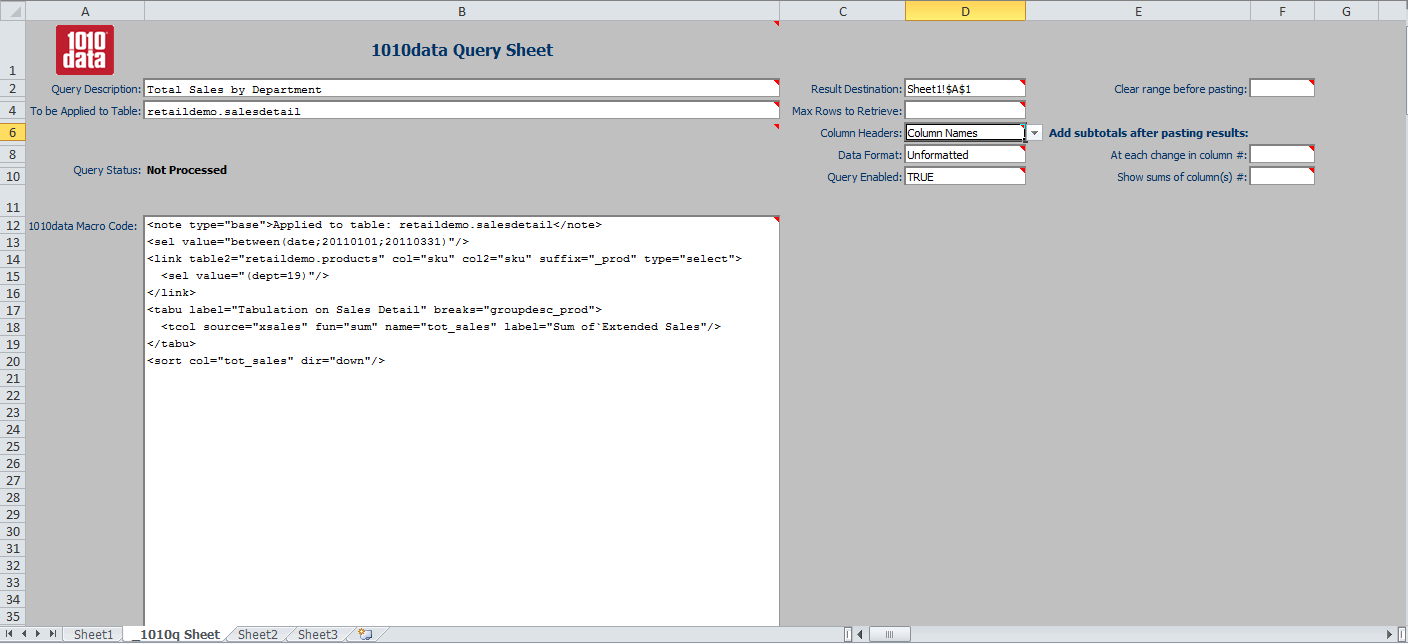
Copy the Macro Language code for the 1010data query and paste it into the section of the q-sheet labeled 1010data Macro Code.
- For the Query Description, enter "Total Sales by Department".
- In the To be Applied to Table field, we need to specify the full path to the table this query should be applied to. For this example, we'll enter retaildemo.salesdetail.
- In the Result Destination field, enter Sheet1!$A$1 so that the results will be pasted in cell A1 in the Sheet1 worksheet.
- From the Column Headers drop-down, select "Column Names".
Our q-sheet should look similar to the following:
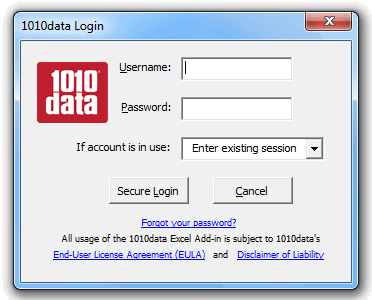
Enter your 1010data credentials and click Secure Login.
As the query runs on 1010data, you'll see a 1010data Query Progress dialog, which shows the percentage of total operations completed within the current query. When the query finishes running, you should see a dialog saying: Query completed successfully. Click OK to dismiss this dialog.
To see the results, click the Sheet1 tab:
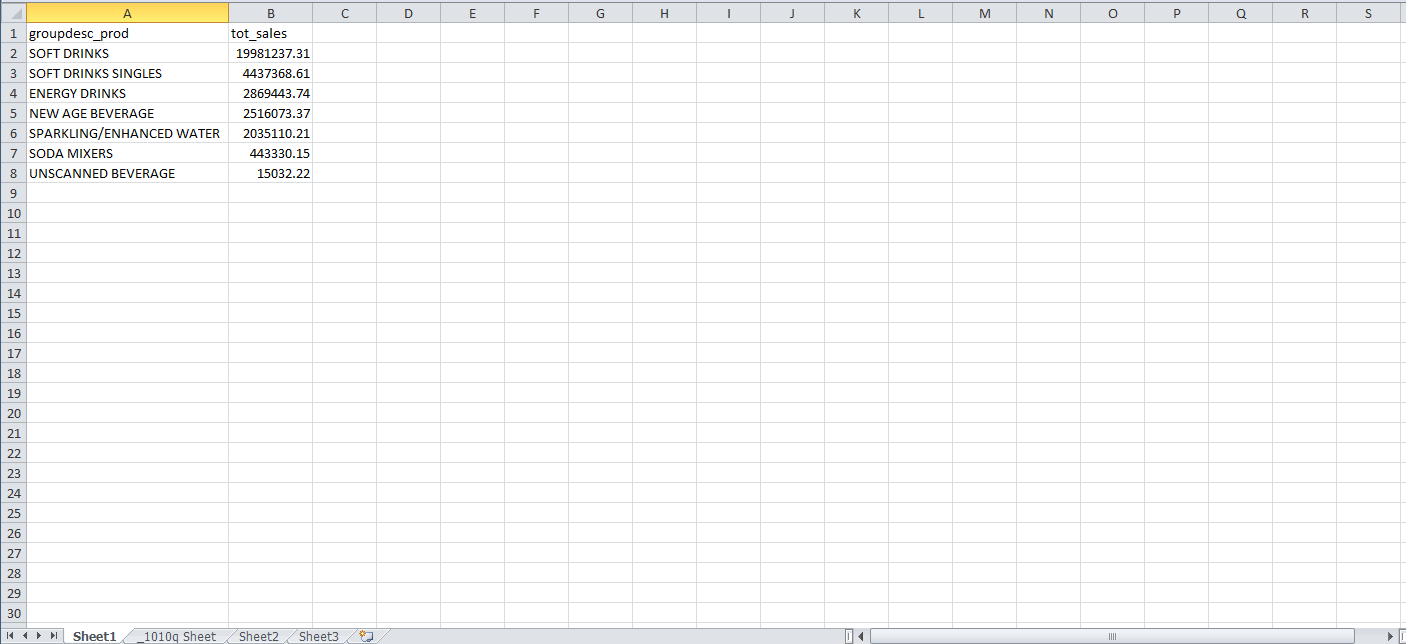
You can see that the results of this query have been downloaded into Excel and are the same as what we got when we ran this query directly on 1010data.