
Destination
Descriptions of fields and options in the Destination section of the Table Uploader.
In the Destination section, you have the option of selecting a folder to upload the table into or to select an existing table to replace. This section also provides fields which allow you to describe the table and to define the users who can access the uploaded table.
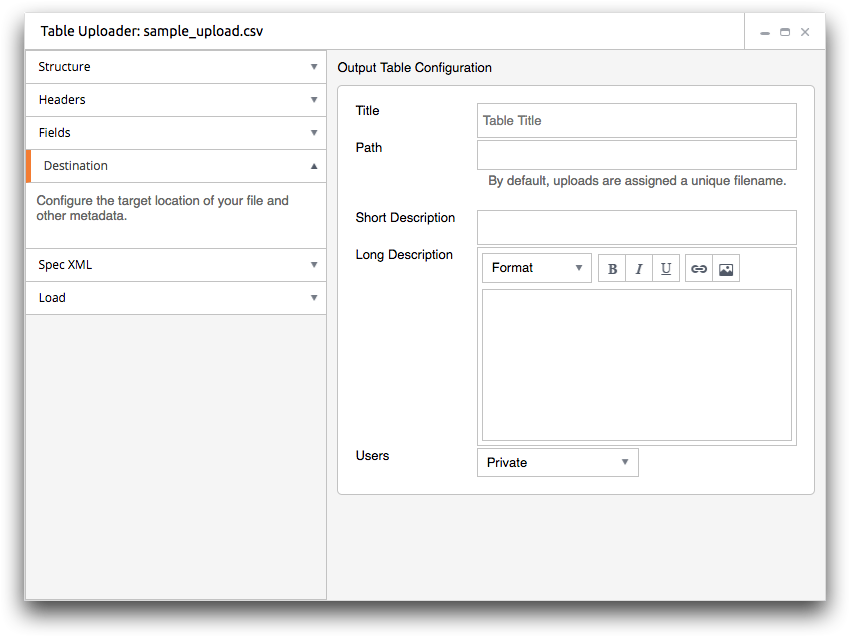
- Title
- This field is used to set the title of your table.
The title is used to help describe the contents of a table (e.g., Sales Detail by Customer). This is used for recognition of the table and does not necessarily have to be unique.
The title may contain any combination of uppercase and lowercase letters, numbers, spaces, and special characters.
- Path
- This field is used to select the location to where the table is uploaded.
When this field is clicked, the Table Uploader displays an object browser dialog. The object browser allows you to select a folder to upload the table into or to select an existing table to replace.
If an existing table is selected, this field displays the path and the name of the selected table. If a folder is selected, this field contains the path to the selected folder and the Name field appears.
- Name
- This field is used to set the name of your table. This is the unique name of the
table used for identification in the 1010data Insights Platform.
The name must begin with a letter and can only contain numbers, letters, and underscores. It cannot contain any spaces or other special characters. If you leave this field blank, a system-generated name will be used (e.g.,
t662528755_yourusername).Note: This field is not visible when an existing table or the My Data folder is selected in the object browser. If you are saving to the My Data folder, a system-generated name is used. - Short Description
- This field is used to provide a brief description of the data contained in your table.
- Long Description
- This field is used to provide a detailed explanation of the data contained in your
table.You can customize the appearance of the description text by using the provided rich text editor controls. These controls are located above the Long Description field and include the following:
- Format
- This drop-down list contains pre-formatted text styles. For example, you can choose different heading levels to organize the description text.
- Bold
- This icon applies bold formatting to the selected text.
- Italic
- This icon makes the selected text italic.
- Underline
- This icon allows you to underline the selected text.
- Insert hyperlink
- This icon opens the Insert hyperlink dialog which allows you to create a link in the description text.
- Insert image
- This icon opens the Insert image dialog which allows you to add an image in the description text.
- Users
- This field is used to define the users who have permission to view the table. You
can select from the following options:
- Private
- When this option is selected, only you will have access to the table.
This is the default setting.
- Inherit
- When this option is selected, users who have access to the parent folder (the
folder the table is being uploaded to) will have access to the table.
Note: Although this option is available, you cannot use the inherit permissions feature for tables saved in your My Data folder. To share a table saved in your My Data folder, you must explicitly give permission to each user with whom you want to share the table.
- List
- When this option is selected, the Table Uploader displays a text field below
the drop-down list.
Enter the names of the 1010data Insight Platform users or groups, separated with a space, with whom you want to share the table. When this field is left blank, only you will have access to the table (the same as the Private setting).