
Upload a table (detail mode)
Upload a table to the 1010data Insights Platform.
The detail mode of the Table Uploader is workflow-based and visually guides you through an iterative uploading process. As you progress through the steps of the upload, the platform displays a preview of the data so you can make any necessary adjustments along the way. Additionally, the detail mode provides the ability to edit the specification (.spec) file during the upload process.
To upload a table using the detail mode:
-
In the workspace menu, select .
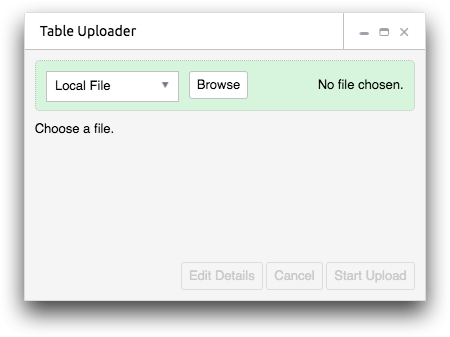
The Insights Platform displays the Table Uploader window.
-
Depending where the file you want to upload is located, do one of the
following:
Option Description Local file In the drop-down list, select Local File, click Browse, and then select the file containing the table you want to upload. Alternatively, drag the file from your operating system to the Insights Platform workspace.
1010data FTP account In the drop-down list, select FTP. In the drop-down list that appears, select the file containing the table you want to upload. Note: You must have already transferred the file to your 1010data FTP account. For instructions, see Transfer a file to your FTP account.Amazon S3 In the drop-down list, select S3. You then need to select the S3 API keys, the S3 Bucket Name, and the Bucket from the drop-down lists. -
Click Edit Details.
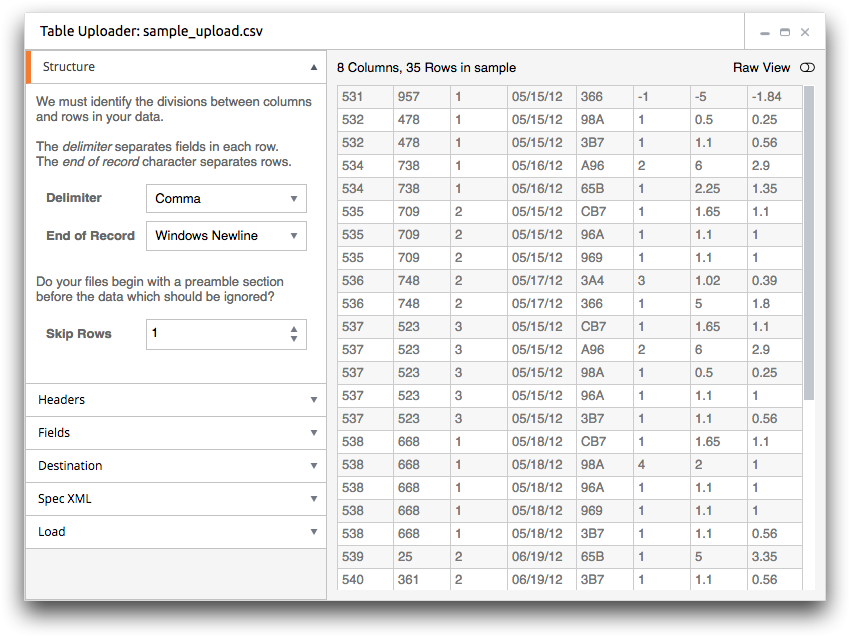
The Table Uploader configures the settings for the table based on the data in the file and displays the Structure section. This section contains a preview of the table along with fields and options for defining the divisions between columns and rows in the data.
-
As necessary, edit the settings in the Structure
section.
For more information, see Structure.
-
Click Headers.
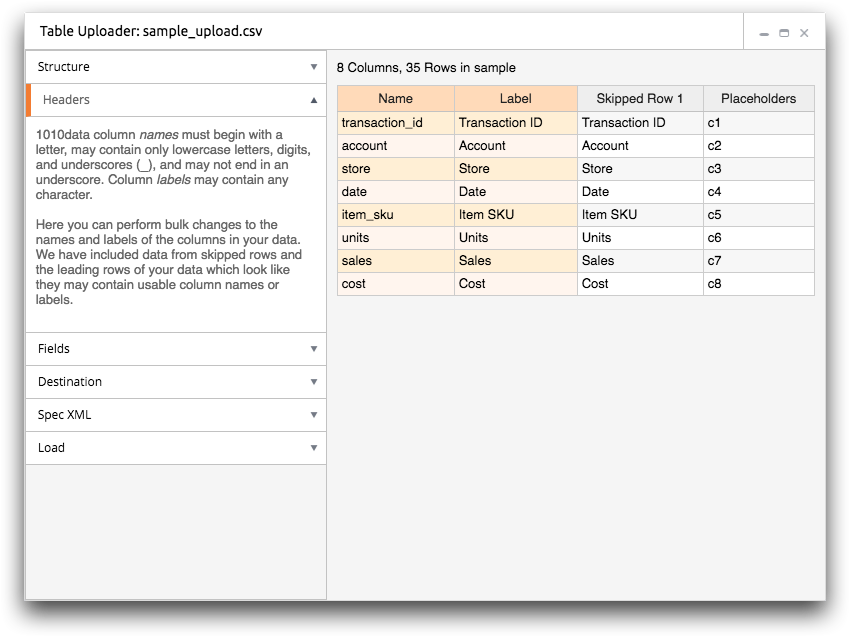
The Table Uploader displays the Headers section. This section allows you to define the names and labels of the columns in your data.
-
As necessary, edit the names and labels of columns in the
Headers section.
For more information, see Headers.
-
Click Fields.
The Table Uploader displays the Fields section. This section contains a preview of the table and allows you to define the data type and display format of the columns in your data.

-
As necessary, edit the data type and display format of columns in the
Fields section.
For more information, see Fields.
-
Click Destination.
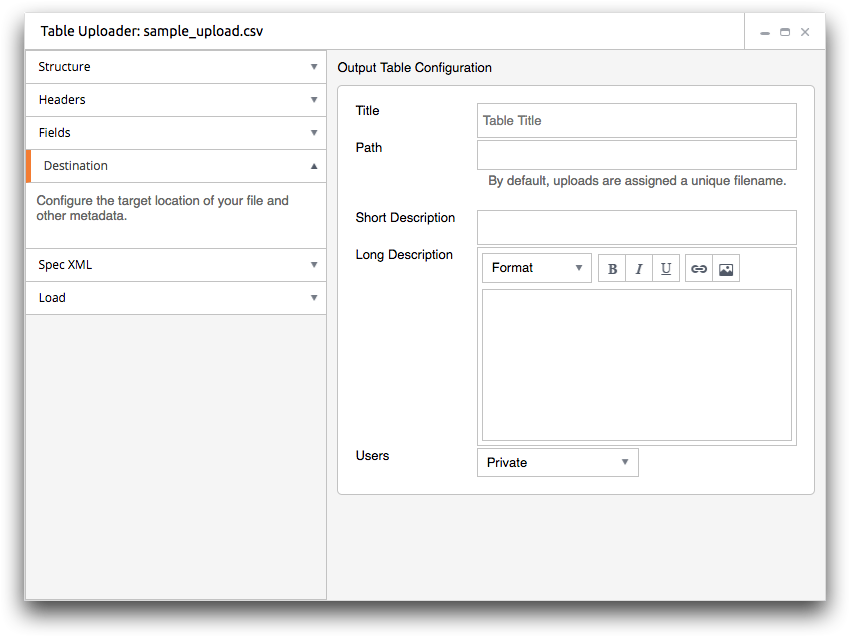
The Table Uploader displays the Destination section. This section allows you to select the save location, describe the table, and define who can access the uploaded table.
-
Complete the appropriate fields and options in the
Destination section.
For more information, see Destination.
-
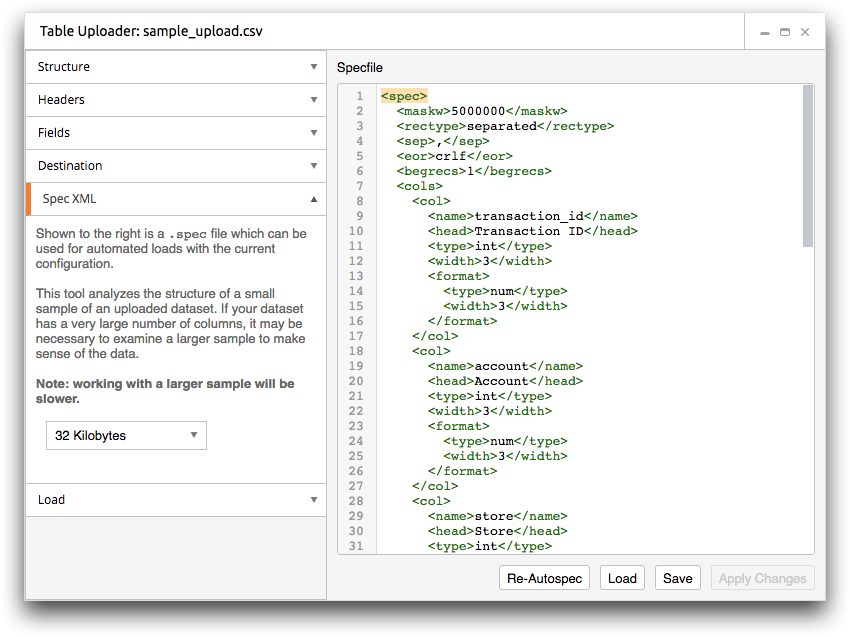
Click Spec XML.
The Table Uploader displays the Spec XML section. This section contains the automatically generated specification (.spec) file which defines the upload configuration for the table.
-
As appropriate, load, edit, or save the specification file for the table.
For more information, see Spec XML.
-
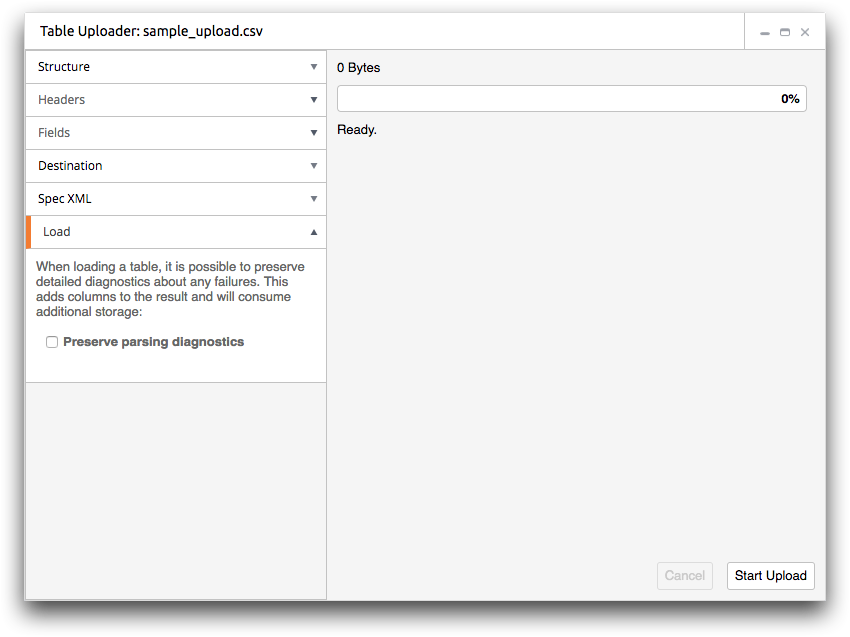
Click Load.
The Table Uploader displays the Load section. This section allows you to choose whether to preserve the parsing diagnostics of the upload process and to upload the input file.
-
If desired, select the Preserve parsing diagnostics
option.
This option preserves detailed diagnostics about any failures encountered during the upload process.Note: The diagnostic information is included as additional columns in the resulting table and uses additional storage space.
-
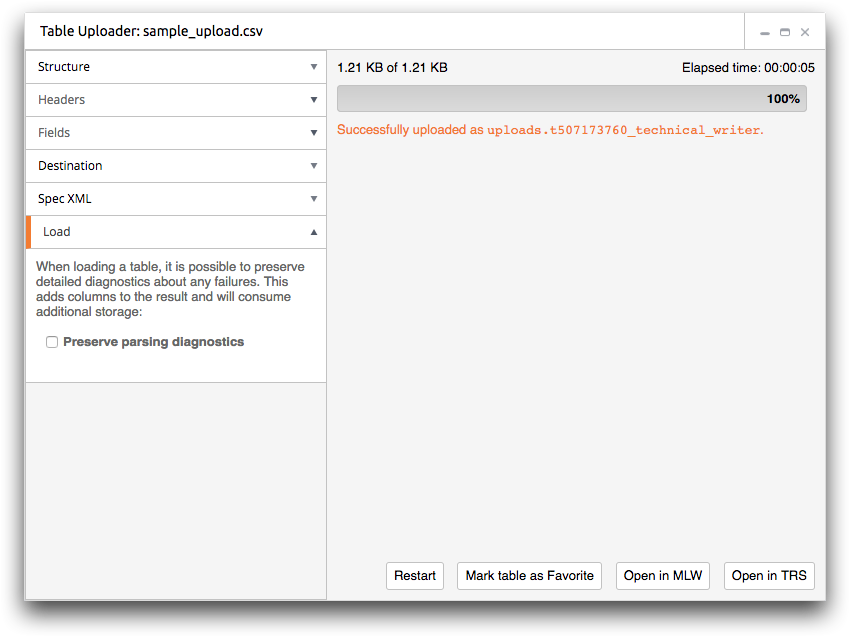
Click Start Upload.
The Table Uploader uploads the file and creates a new table. After the process is complete, a confirmation message is displayed.
 Note: If you close the Table Uploader window before the upload process is complete, the Table Uploader will abort any uploads that are in progress.
After the table is successfully uploaded, additional options are available in the right side of the window. For example, you can mark the table as a favorite, open the table in the Trillion-Row Spreadsheet or Macro Language Workshop, or choose to restart the upload process for the input file. For more information, see Load.